Table of Contents
Ear piercings are one way to express your style by adorning various earrings such as gold, pearl, or stud earrings. However, these earrings will look beautiful only if your ear piercing is clean and free of infection. Therefore, it’s important to maintain proper hygiene to prevent infections and ensure your earring holes stay clean and healthy. For proper hygiene, you must clean your earrings and ear piercings. A newly pierced ear piercing is more prone to infection, requiring a proper aftercare routine. Here’s a detailed guide on cleaning earring holes in 11 easy steps to ensure clean and infection-free ear piercings, no matter whether the piercing is new or old.
Step 1
Wash Your Hands
Before beginning the process to clean your earring holes, you must wash your hands thoroughly. Scrub your hands for at least 20 seconds with soap and water. This step helps prevent bacteria from being transmitted to your piercing site.
Step 2
Prepare Your Cleaning Solution 
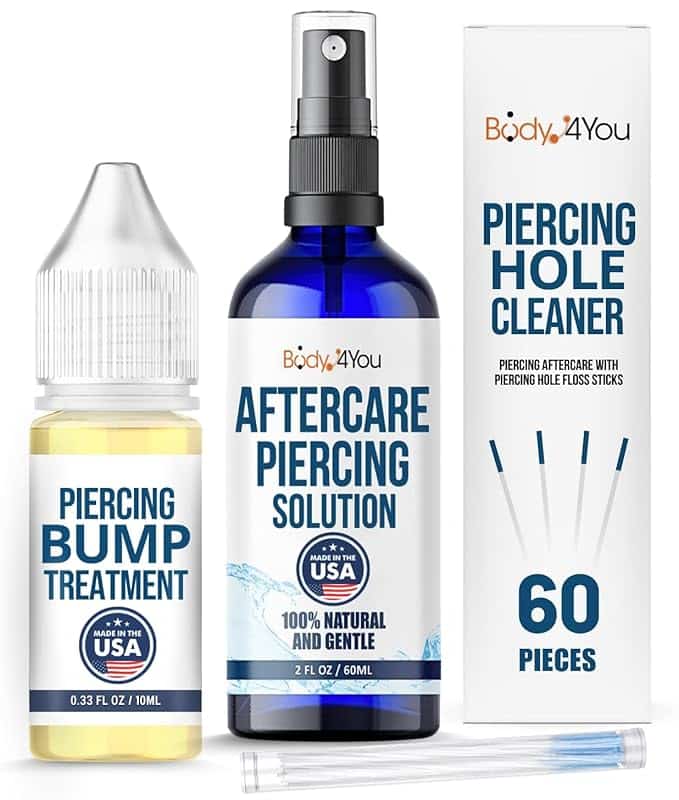
You can use a saline solution or a mixture of warm water and mild soap for proper piercing aftercare. Saline solutions are highly recommended because they clean ear openings gently and effectively without irritating them. You can buy a pre-made saline solution at a pharmacy or make your own at home using simple ingredients.
Ingredients
- 1 cup of warm water (preferably distilled or boiled and cooled)
- 1/4 teaspoon of non-iodized salt (sea salt or kosher salt)
Instructions
- Allow the boiled water to cool until it’s warm. Don’t let the water get too hot, as it could cause burns or irritation.
- Start by boiling one cup of water. Boiling kills any bacteria or impurities present in the water. If you’re using distilled water, you can skip this step.
- Measure out 1/4 teaspoon of non-iodized salt. It’s important to use non-iodized salt because iodized salt can be too harsh and cause irritation to your ear piercing.
- Add the salt to the warm water and stir until completely dissolved.
- Once the salt is fully dissolved, pour the saline solution into a clean container.
- Clean your earring holes thoroughly with this solution.
Step 4
Use Cotton Swabs to Clean Earring Holes
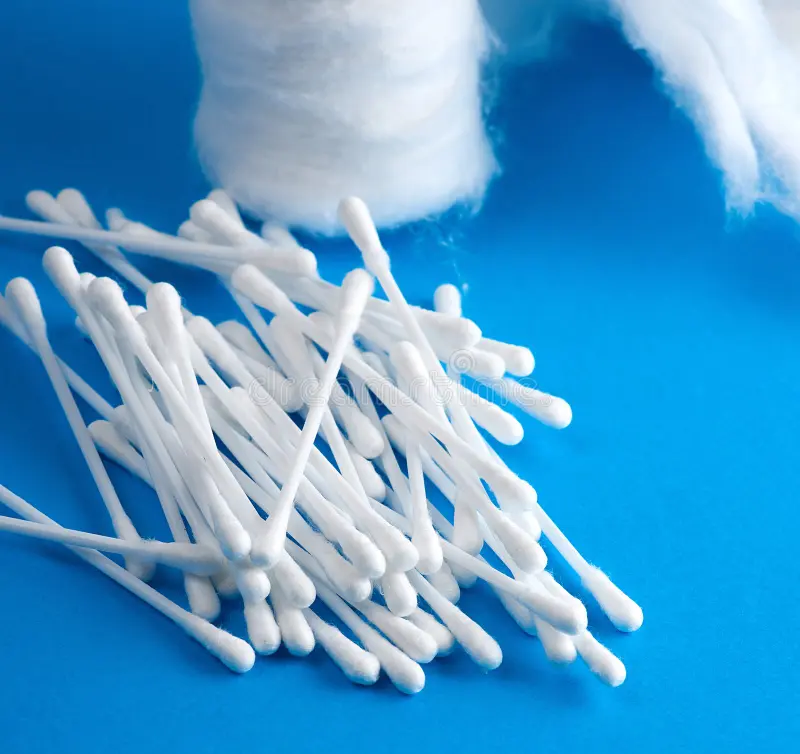
Dip a cotton swab or pad with soapy water or your prepared saline solution. Make sure it’s well-saturated but not dripping.
Step 5
Clean Your Ear
Using the wet cotton swab or pad, gently wipe the area surrounding your earlobe and the earring hole. Be sure to clean both the front and back of your ear holes to remove any dirt, oil, or discharge.
Step 6
Rotate the Earrings

Turn your earrings carefully while you clean to keep the piercing site clean and keep the earrings from sticking to your skin. This helps new piercings stay flexible and promotes appropriate healing, so it’s extremely crucial.
Step 7
Use Warm Water to Rinse
To remove any residue, rinse the region around your ear piercing with warm water after cleaning it with soapy water or saline solution. This step ensures that no cleaning solution is left behind, which can cause skin irritation.
Step 8
Dry the Area

Dry the area with a fresh, gentle towel. Make sure the skin around the earring hole is completely dried to avoid moisture, which encourages the growth of bacteria.
Step 9
Check for Signs of Infection
Check the earring hole regularly for infection symptoms. These can include green or yellow discharge, redness, swelling, and pain. If you see any of these infection-related symptoms, it’s critical to take quick action to prevent further issues.
Step 10
Apply Antibacterial Ointment

If your ear holes have become infected, dot the piercing site with antibiotic ointment. This will promote healing and help avoid an infection. Always consult with a healthcare professional before using any ointments.
Step 11
Maintain a Cleaning Routine
When it comes to cleaning your earring holes, consistency is essential. Make sure to clean your ear piercing at least once daily, particularly if it is new. A thorough cleaning once or twice a week should be plenty to keep your old piercings healthy and infection-free.
Additional Tips for Piercing Aftercare
- Keep your hands clean before touching your ear piercing.
- Be cautious when using hair products or sprays near your ear lobe, as they can irritate the piercing site.
- Avoid swimming in pools or hot tubs until your piercing is healed completely, as these environments can harbor bacteria.
- Seek immediate medical attention if you have serious symptoms of infection, such as swelling or chronic pain.
Why Proper Hygiene Matters
It’s important for your health, safety, and appearance to keep your earring holes clean. An unclean earring hole has the potential to develop into an infection, which can cause discomfort and even more serious issues. By incorporating good hygiene practices into your daily routine, you can enjoy your stud earrings and other jewelry without worry. A newly pierced ear piercing is more prone to infection, requiring a proper aftercare routine. For proper hygiene, you must clean your earrings and ear piercings.
Troubleshooting Common Issues

Infected Piercing
Your ear piercing might be infected if you notice persistent swelling, redness, or pus. In these situations, clean more frequently and use antibiotic ointment as a medical expert prescribes. Avoid removing the earring from infected piercings unless advised to do so by a medical expert, as this can sometimes trap the infection inside.
Irritation
Sometimes, irritation can be confused with an infection. Friction or sensitivity may cause red or tender ear openings. Ensure the earrings you wear are hypoallergenic and avoid any materials that could react negatively.
Slow Healing
It is common for some people’s piercings to heal more slowly than others. Ensure you clean the area, avoid unnecessary touching or twisting, and follow all piercing aftercare instructions.
Conclusion
It is essential to give proper time to your ear piercing to heal with proper cleaning and regular maintenance. Some people find it tedious to clean their ear piercing however it is essential for maintaining healthy and attractive ear holes. By adhering to these 11 easy steps on how to clean earring holes, you can ensure that your earring hole remains free from infection and irritation. So, follow these steps diligently, and you’ll have healthy, beautiful ears to showcase your style.